
So lovely, so helpful- thanks a lot ^^
By Delfine
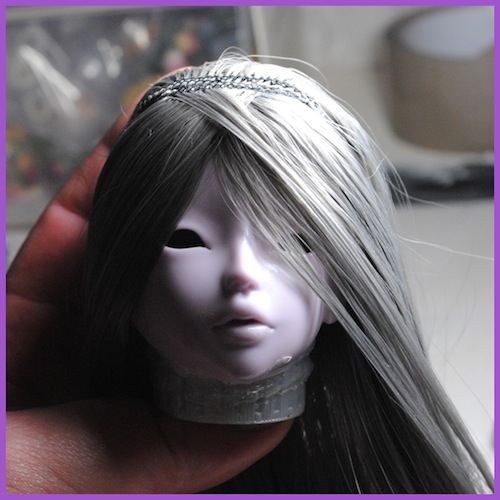
Doll artist Delfine demonstrates how her unique wigs are constructed.
~~~~~
~~~~~
This tutorial requires long or semi-long hair wefts.
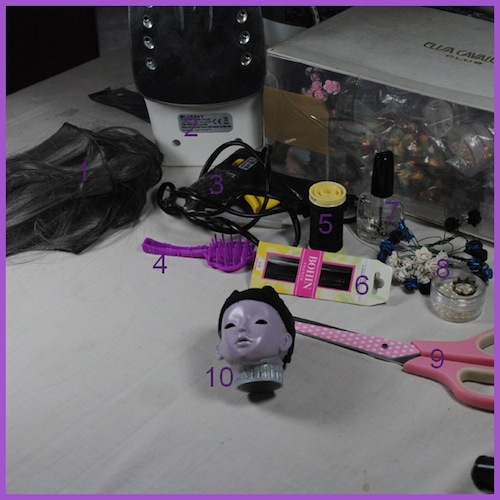
Things that you need!
1- Hair wefts
2-Iron
3- Hot glue gun
4-Brush
5- Sewing thread
6- Needles
6- Needles
7-Transparent nail polish
8-Decorations
9-Scissors
10-head and headcap
~~~~~
1. Start to sew the hair wefts at the edge of the cap
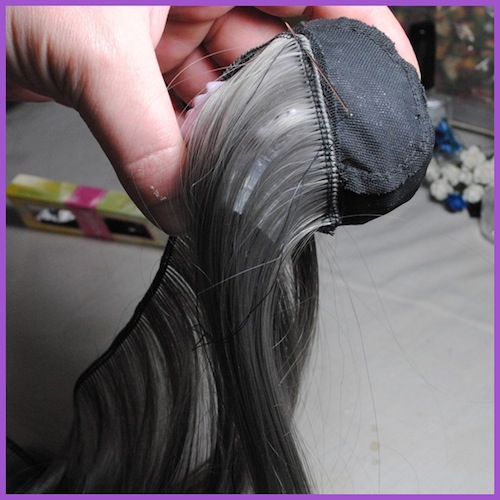
2. Continue to sew all around the head, make a 3/4 turn.

3. Leave space between the hair wefts at the back but no space
between wefts on the forehead. Cut the hair weft and fix it with a drop
of clear nail polish or Fray Check.
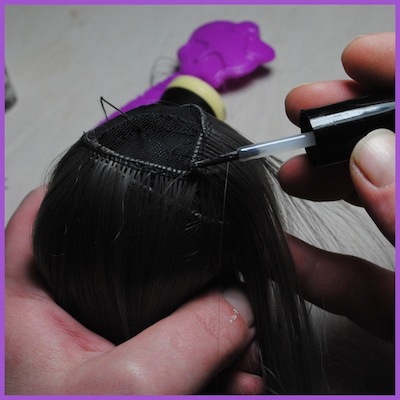
4. At this point, your wig should look like this.

5. Now sew horizontal bands, and leave a space between them. When you
arrive at the top of the head, sew the 4 last very close to hide the
frame (don’t forget to fix with a drop of nail polish).

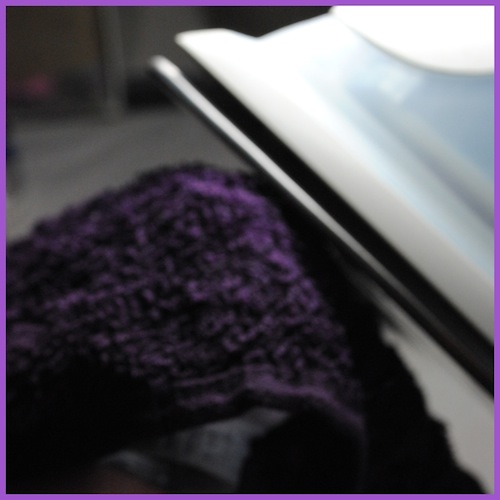
6. To fix a line left right or in the middle use an iron with a wet
towel (only with heat resisting fiber hair!) you can also use warm
water. Don’t touch ironed spot until it’s cold! You can also cut bands
or curl the hair.
7. Now the hairs are the way you want them. Next you have to hide the junction of the weft hair on the top of the head.
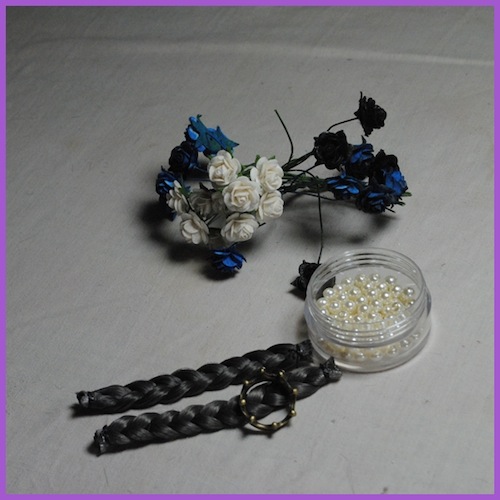
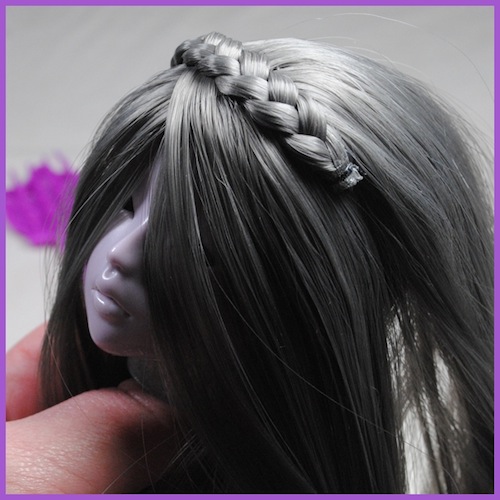
8. Make a braid with the same hair, use sewing thread and nail laquer
to make sure it will be strong and stay together. Prepare your
decorations.
9. Decide where the braid will hide the junction best.
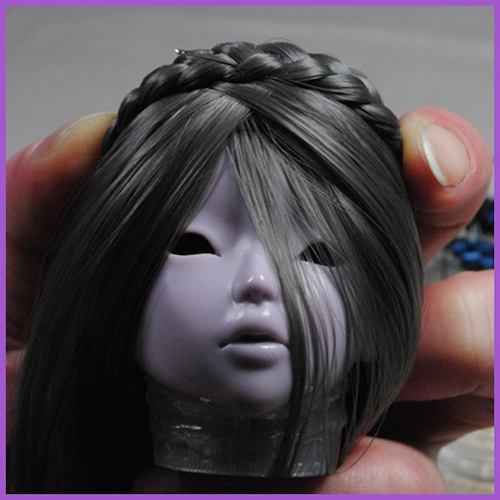
10. Use the hot glue gun to fix the braid.
11. It should look like this! Not very nice at the ends…but now it’s time for the fun part, decorating!
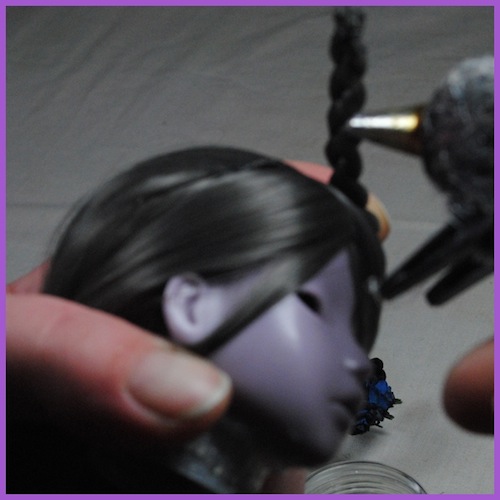
12. Glue and/or sew anything you want on the wig…charms, flowers, ribbons, use anything you want 
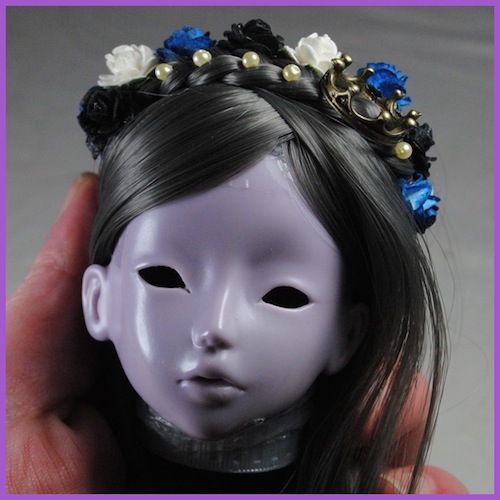
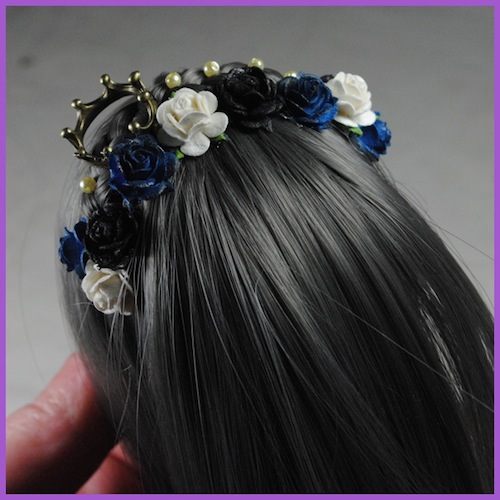
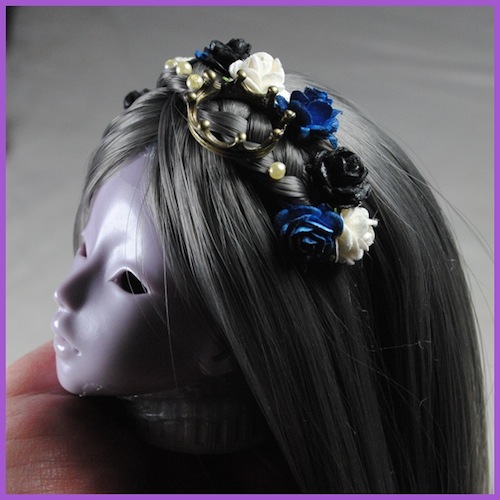
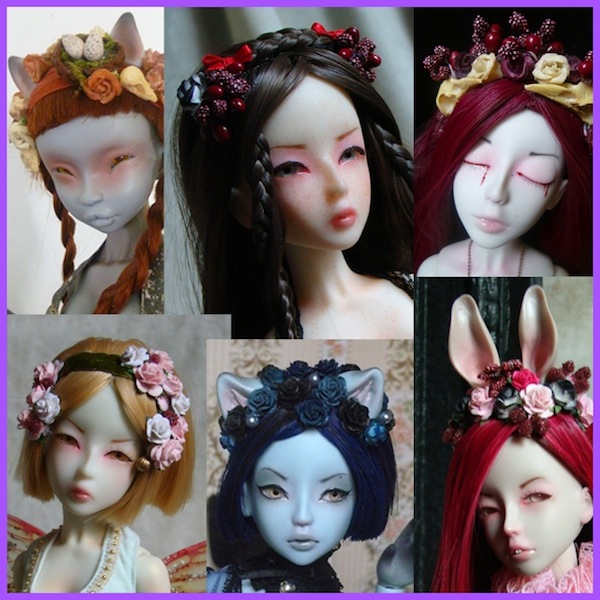
Some samples of some of my finished wigs:
Keine Kommentare:
Kommentar veröffentlichen